I've developed a new firmware for my RF Powermeter. In this firmware, the user can now program for six calibration points the factors for the polynimial regression functions.
Therefor I've developed a JAVA GUI application for downloading these floating point values to the device.
*** CAUTION ***
All stuff described in this post is ONLY running on an Arduino which runs the OptiBoot bootloader. The EEPROM capability of the OptiBoot bootloader is needed for the features of firmware V1.7.1
I described here a way how to flash the OptiBoot loader on an Arduino UNO clone. For this you need an ISP or a second Arduino to act as an ISP.
Configuration utility
With this application you can programm all internal settings of the meter.
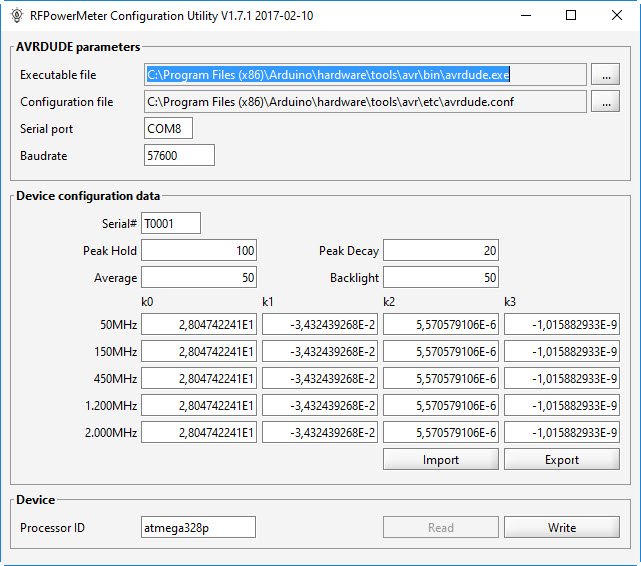
AVRDUDE + Device parameters
The download of configuration data onto the power meter is done with the same tools the Arduino IDE uses (avrdude).
You can find all parameters when you enable the trace for the code upload 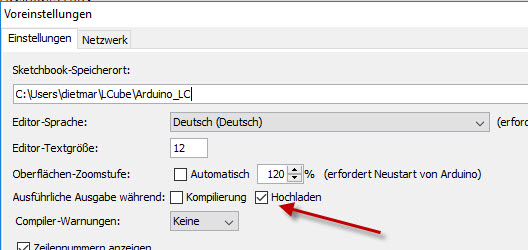
When you upload your code to the Arduino, there will be information in the log window th the button of the Arduino IDE:
C:\Program Files (x86)\Arduino\hardware\tools\avr/bin/avrdude
 -CC:\Program Files (x86)\Arduino\hardware\tools\avr/etc/avrdude.conf
 -v
 -patmega328p
 -carduino
 -PCOM8
 -b57600
 -D
 -Uflash:w:C:\Users\dietmar\AppData\Local\Temp\arduino_build_17765/RFPowerMeter.ino.hex:i
The parameters highlighted above are relevant.
- The first one goes into the "Executable file" field.
- The second one goes into the "Configuration file" field
- The third on goes into the "Processor ID" field
- The forth one goes into the "Serial port" field and last but not least
- the ffith one goes into the "Baurate" field.
The configuration is persisted, when you close the application and reloaded on restart.
Device configuration data
All parameters k0-k3 for each frequency are populated initially with my default values. You can change them as you like. Using the "Export" button stores the parameters into an XML file. Using the "Import" button you can reload a previously stored parameter set. You can download the configuration data to the power meter using the "Write" button - please be sure to connect the powermeter via USB to your PC.
Please take care, that you enter only valid data into the configuration fields. The limits for "Peak hold", "Peak decay", "Average" and "Backlight" are defined in "data.h" in the Arduino sketch.
You can download the configuration utility here. To get it up and running, you need an uptodate JAVA Runtime Environment.
Firmware 1.7.1
The RF Powermeter firmware (Arduino Sketch) matching the above utility can be downloaded from here. Please also upload the new HMI file to the Nextion display - there is now a third screen. Please download also the matching libraries for the AD7887 and the AD8318. My adopted NeoNextion library can be downloaded from here.
After installing the HMI-file and uploading the sketch to the Arduino you must also download the calibration parameters using the configuration utility.
In this firmware version, the averageing buffer is reduced to 80 entries. Running at an acquisition rate of 100Hz, this is 800ms - in my opinion to less, to get good average values. Maybe I switch to a large Arduino board with far more RAM ...
Welcome screen - version information
Welcome screen - serial number

Main screen
Setup screen

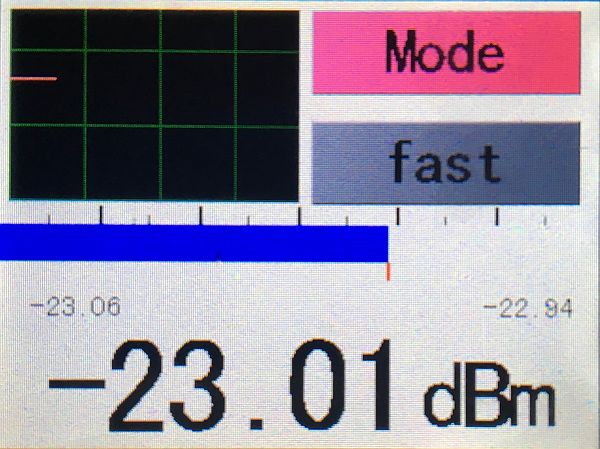
Raw data

Here you can see the raw value transmitted from the ADC. You need these values to calculation the calibration factor k0-k3.